Sunday, November 30, 2014

How did a pumpkin fit in there?

Happy Thanksgiving! Science fact: According to scientists at UC Davis, saying thanks every day helps lower blood pressure. (Just in case someone needed another reason to say thanks this holiday season!) This year, I made pumpkin cheesecake specially requested by my sister! 

Pumpkin Cheesecake with Caramelized Pecans
(modified from alpineberry)
Recipe is for one 6" round
Crust
2/3 cup all-purpose flour
3 tbsp firmly packed light brown sugar
 A pinch of salt
1/4 cup  chopped crystallized ginger
1 tbsp crushed pecans
1/3 cup unsalted butter, cold & cut into cubes
2/3 tbsp cold water

1. Using a food processor, mix the dry ingredients (flour, sugar, salt, ginger, pecans).

2. Slowly add cold butter cubes. Mix after each addition.
3. Add cold water and knead dough.
4. Line a 6" springform pan with buttered parchment paper. Wrap the outsides of the pan with foil (sometimes springform pans leak!) 
5. Bake for 30 minutes at 350degrees and cool crust completely. 


Filling
3/5 cup pumpkin puree
1/4 cup heavy cream
1 1/2 tsp vanilla extract
3/4 tsp ground cinnamon
1/2 tsp ground ginger
3/4 tsp ground nutmeg
A pinch of salt
2 sticks of cream cheese, room temperature
1/2 cup granulated sugar
1/2 cup firmly packed light brown sugar
1/2 tbsp cornstarch
2 large eggs, at room temp.


1. Whisk pumpkin, heavy cream, vanilla, cinnamon, ginger, nutmeg, cloves, and salt.


 2. At low to medium speed, beat cream cheese and sugars until creamy.
3. Mix in pumpkin mixture in small portions. Beat after each addition.
4. Add cornstarch and eggs. Beat with stand mixer on low speed after each addition. 
5. Remove from stand-mixer and beat by hand (to get the small chunks out.) 

6. Pour into pan with cooled crust. 
7. Place springform pan into external container with hot water filled halfway up the side of the springform pan. 
8. Bake at 325degrees for ~70 minutes. The cheesecake should be solidified and slightly jiggly. 
9. Cool for at least 6 hours. 

Candied Pecans 
1/2 cup pecans
2 tbsp butter
1/2 cup light brown sugar 

1. Lay out parchment paper on a flat pan. Use enough space so you can spread out the pecans and prevent clumping!
2. Put all ingredients in a saucepan on medium heat. 
3. Stir ingredients constantly. When butter is completely melted, reduce to low heat.
4. When pecans start browning, remove saucepan from heat and spread out on the parchment sheet.
5. Wait for pecans to cool (~5 minutes). 

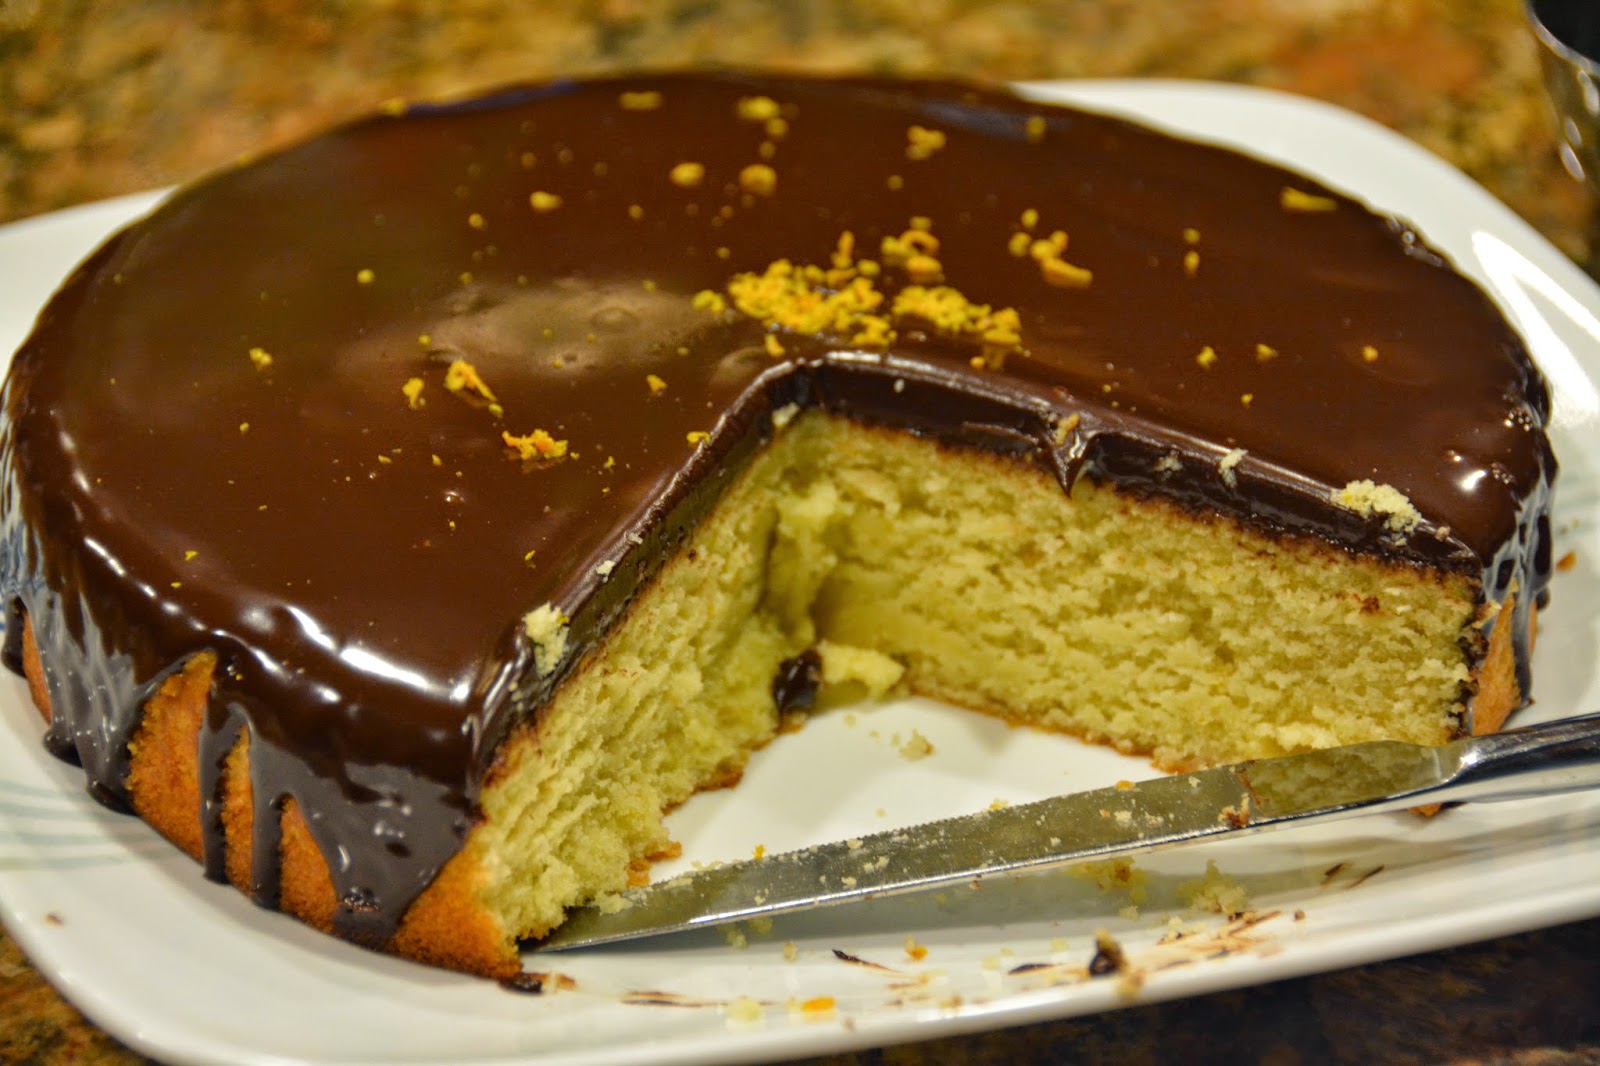
The pumpkin cheesecake was a lot yellow-er than I expected (I have this permanent image that all pumpkin things are supposed to be orange), but definitely not lacking in taste! Happy baking :)


Monday, August 18, 2014

Macarons not Macaroons

Wow it's been so much more than a month! Sorry blog :( I told myself I would post as soon as I finished my summer homework, but that obviously didn't turn out too well... Nevertheless, I had an amazing summer surrounded by people just like me who love baking and science! (I'm especially excited about this post.. there's so much science it's kharezy!)

I accomplished one of my baking goals (YAY!) I made macarons with my friends this week and they were absolutely delicious. Macarons are French delicacies with two "cookies" with hard outer shell, but moist insides frosted in between with a frosting. 

We made red velvet macarons with cream cheese buttercream filling and while we experienced our ups and downs with not enough ingredients or screaming over the screeching hand-mixer trying to hear each other, we were rewarded with DELICIOUS macarons :) 


Red Velvet Macarons
(adapted from An Edible Mosaic)
2.5 oz egg whites (2 large eggs)
1 cup powdered sugar
1/2 cup almond flour
1 tbsp unsweetened cocoa powder
1/8 tsp salt
1/4 tsp pure vanilla extract
1/2 tsp red food color (this can easily be replaced with another color, but make sure that color "mixes" with the brown of the cocoa powder!)
3 tbsp superfine (castor) sugar

1. Preheat oven to 300degrees. Line 2 pans with parchment paper. Outline circle shapes to "mold" the shape of your macarons and flip over the sheets. (That way you don't get pencil lead in your macarons but you can still see the outlines!) 
2. Separate egg whites from yolks while they're cold. Wait for the egg whites to come to room temperature and then begin whisking. 
*This is done because the eggs easier to whip at room temperature but easier to separate when they're cold.

3. Begin whisking. The eggs should reach a frothy state within a few seconds but keep whisking, and gradually add superfine sugar. I say this because we were about to start over when we didn't see the egg whites form peaks after 3-4 minutes!  
*Egg whites have a protein called albumen, which is denatured when eggs are beaten. The denatured protein surrounds the air bubbles and holds in the water causing stiff peaks to form! (ift.org) 
4. In a medium bowl, sift powdered sugar, almond flour, cocoa poswer, and salt. 

5. Use a spatula to fold in the dry ingredients to the egg white peaks. 
(Do this slowly. Excess folding causes a lot of air bubbles to enter the mixture which eventually leads to cracked macarons!)

6. Spoon the batter into a pastry bag and begin piping the batter onto the parchment paper. 

7. Wait for the macarons to cool so they are dry to touch aka no batter on your hands. 

8. Bake macarons in the oven for ~15 minutes (or until they feel hollow when you tap them). Macarons should be able to slide off the parchment paper. 

9. Wait for them to cool and frost with buttercream:

Cream Cheese Buttercream
4 tbsp unsalted butter, room temperature 
4 oz cream cheese, room temperature
1/2 tsp pure vanilla extract
8 oz powdered sugar
*It's important that the butter and cream cheese are at room temperature and NOT melted because melting it causes the buttercream to be too runny. 

1. Beat butter, cream cheese, vanilla extract. 
2. Gradually add powdered sugar and beat until smooth. 

Thanks for reading and happy baking! All picture creds to Joce, baking creds to Shirley and Rach! 

Wednesday, July 2, 2014

Sugar Plum Fairies

...or just plum fairies! It's plum season and we have too many plums on the tree outside my bedroom window. Clearly, when life gives you random fruits.. bake something with it!  Yesterday, I decided to make upside-down plum cake with the excess of plums at our house. (I seriously only used less that 10% of the plums we actually have on the tree!) Plums have this general tart-y flavor that's perfect for the summertime because the contrast of the tart-y flavor with a sweet cake base makes for a treat that feels really healthy. Just the fact that the cake is half plums already makes for a treat that feels really healthy!

Plums!

Plum Upside-Down Cake:
1 1/2 sticks unsalted butter, room temperature
1 cup packed golden brown sugar
1 tablespoon honey
6 large plums, cut (you can choose to peel the skins off, but they make the plums more tart)
1 1/2 cups all purpose flour
2 tsp baking powder 
3/4 tsp ground cinnamon
1/4 tsp salt
1 cup sugar 
2 eggs
2 tsp vanilla extract 
1/2 cup milk 

1. Stir 6 tbsp butter, brown sugar, honey into a medium pan over low heat until it forms a thick sauce (should be shiny brown in color)
2. Pour in a 9inch round pan lined with parchment paper. 
3. Arrange plums on top.
4. Sift dry ingredients and set aside. 
5. In the bowl of a stand mixer, cream 6 tbsp butter and sugar.
6. Add eggs one at a time; beat after each addition.
7. Alternate dry ingredients and milk. (at least 3 iterations)
8. Add vanilla extract.
9. Pour batter evenly over the plums. 
10. Bake for 40 minutes at 350degrees. 
10. Invert and enjoy!! 

Sunday, May 4, 2014

Vitamin Sí

We have an orange tree outside our house which is my sole reason for trying to make an orange cake. Citrus is generally not my thing, as a lot of my friends know, because anything with a really low pH is just questionable in general!
Orange Swag Tree

As for my science side, I realized that amounts of orange juice, baking powder, and baking soda have to be in the correct proportions otherwise the cake tastes too acidic (sour) or too basic (bitter), so I decided to experiment with everything else. Here's my version of orange cake with chocolate ganache (Ganache because your cake needs a buddy!) Enjoy!

Orange Cake
1 1/4 cups all purpose flour
1/2 teaspoon baking powder
3 eggs, separated
1 stick unsalted butter, softened
2/3 cup granulated sugar 
grated zest of one orange
1/2 cup fresh orange juice
1/4 cup powdered sugar

1. Sift dry ingredients. 
2. In the bowl of a stand mixer beat butter and sugar until well combined.
3. Add in eggs one at a time, beat well after each addition. 
4. Add dry to wet ingredients in small portions. Beat after each addition.
5. Add orange zest.
6. Pour into into an 8" round pan and bake at 350degrees for 40 minutes or until done. 


Chocolate Ganache
(From Martha Stewart)
1/2 cup heavy cream
3.5 oz semisweet chocolate chips
1 tbsp unsalted butter

1. Bring cream to boil in a saucepan
2. Pour cream over chocolate in a heatproof bowl. 
3. Add butter and whisk to consistency.
4. Use IMMEDIATELY.

This contraption is really cool because it prevents the chocolate from accumulating on the bottom. Place a plastic container on top of a plate and place the cake on top. Remember to pour the chocolate ganache quickly so there are no lumps or air-bubbles!


The cake turned out a little dense, so adding more liquid ingredients could lighten it up!... but other than that, orange you glad it wasn't a banana cake!

Saturday, April 19, 2014

When Life Gives You Lemons...

Make lemon poppyseed cake!
Last summer I had an amazing cake from The Buttery in Santa Cruz. The cake itself was super filling but the frosting was light and made the cake more addicting. Unfortunately going down to Santa Cruz on the one-hour winding road for an amazing slice of cake would be a rare experience, so I embarked on my quest to make my own version of the cake. 
The Buttery's website described the cake as a poppyseed cake with lemon curd and cream cheese frosting, which is all I needed to find a way to experience that mouth-watering slice of cake again!
I began sifting through online blogs and magazines only to find that the most common lemon poppyseed cake was a pound cake usually iced with glaze. Finally I gathered recipes from all kinds of different sources, combined them together and edited it based on my own preferences! After many rounds of experimentation on this cake, I've finally come up with an amazing recipe:
 
Happy Birthday Mother :)

Lemon Poppyseed Cake:
3 cups cake flour
1.5 cups sugar
3 tbsp poppy seeds
2 sticks butter, softened
1 cup buttermilk
3 eggs
1/2 tsp baking powder
1/2 tsp baking soda
1/2 tsp salt
Zest of one lemon
1/4 cup lemon juice
3/4 tsp vanilla extract

1. Preheat oven to 350 degrees. Butter and flour 2 round cake pans (8").
2. In the bowl of a stand mixer, use the paddle attachment to cream the butter and sugar until light and fluffy. 
3. Add eggs one at a time and beat after each addition.
4. In a separate bowl, sift all dry ingredients. 
5. In a measuring cup, measure butter milk and juice from a lemon. (Use real lemons!)
6. Alternate between adding the dry ingredients and buttermilk/lemon mixture to the stand mixer bowl.
7. Add vanilla extract and beat for 10 seconds.
8. Pour batter into prepared pans and bake for 25 minutes. 

Step 6: Alternate between dry and wet ingredients. (Wet ingredients tend to stay on the top of the mixture because they're less dense. By alternating wet and dry, we can ensure that both will be mixed to consistency! *Yay science!*)
Lemon Curd:
3 eggs
3/4 cup granulated sugar
1/3 cup lemon juice
4 tbsp butter
1 tbsp lemon zest

1. Whisk eggs, sugar, lemon juice, lemon zest.
2. Place in a double broiler and stir constantly until the mixture thickens. (5-10mins.)
3. Cut butter into pieces and mix in. 
4. Remove from heat and cover with plastic wrap immediately so a skin doesn't form. 
5. Refrigerate for at least 2 hours. (Better if done the night before)

Double broiler. Keep whisking to prevent thickening!

Lemon Cream Cheese Frosting:
5.5 tablespoons (2/3 stick) unsalted butter, softened at room temp.
8 ounces (1 stick) cream cheese, softened at room temp.
1 cup confectioners' sugar, sifted
3/4 tsp vanilla extract
3/4 tbsp lemon juice
3/4 tsp lemon zest

1. In the bowl of a stand mixer, use the paddle attachment to cream butter and cream cheese for 2 mins. 
2. Add confectioners sugar. Mix until lumps disappear.
3. Add vanilla extract, lemon juice, a little at a time. Mix.
4. Add lemon zest. Mix.

Cake Assembly:
1. Cut each cake in half (so that the cake will comprise of 4 layers). 
2. Spread a layer of lemon curd, followed by a layer of cake. 
3. Frost the top layer and sides of the cake.
4. Decorate with lemon cross-sections!

Step 2: Spread a layer of lemon curd. 

Step 3: Add a layer of cake.

Step 4: Frosting!!

So my quest for making lemon poppyseed cake is finally complete :) It turned out well and the lemon is perfect for a light spring/summer flavor! Happy Baking!


Saturday, March 1, 2014

My Gluten-Free Girlie!

My friend Rachel had a birthday recently but she's gluten-free, which is no problem at all because I'm always up for the challenge! I decided to make flour-less chocolate cake for her but how do flour-less cakes work?? (drumroll for the magic of science!!)

Gluten is a protein that has a gas-retaining properties, which allows the cake to be light and airy and it also is binding--it holds the cake together. For flour-less chocolate cake, eggs hold the cake together and enhance texture. (Yay science!)

Almost Flour-less Chocolate Cake 
(Modified version of Fran Gage's, from Alpineberry)

7 ounces semisweet chocolate chips, finely chopped 
14 tablespoons unsalted butter, cut into chunks 
1 cup granulated sugar, divided into 2/3 cup and 1/3 cup 
5 large eggs, room temperature, separated 
1/4 teaspoon salt 
Powdered sugar and/or cocoa powder for decorating 


1. Melt chocolate and butter in a bowl that fits over simmering water (The bowl shouldn't touch the water).
2. In a separate bowl, beat egg whites until they start to foam.
3. Add sugar to egg whites in thirds. Add salt, and egg yolks.
4. Fold in egg white mixture into chocolate mixture. 
5. Bake for 35-40 minutes in a 9-inch round pan at 350degrees until complete.

Decorations!
Two flavors work really well with chocolate - strawberry and orange. I decided to use strawberries for this one! 
1. Dust confectioners sugar onto cake
2. Pipe with strawberry jam (Works as a great alternative if you're missing ingredients for glaze)
3. Put half a strawberry on top :) 


Step 1: It looks a bit lumpy, but the chocolate eventually melts to consistency.

Step 2: Foamed egg whites!

Step 4: The egg-whites and chocolate mixture swirls so nicely. I just had to take a picture! 


The cake is difficult to cut. It's a bit crumbly because the lack of gluten makes it difficult to maintain the shape. Other than that the cake is a DELICIOUS rich chocolate flavor that's dense and moist! Happy baking! :) 

Wednesday, February 19, 2014

Some People Are Worth Melting For

One of my friends Jocelyn is in love with Frozen, and I'm sure a lot of you are too! Thanks to her I finally watched Frozen (only 2 months late!) and I'm glad I did because the soundtrack is my new baking jam! It's funny how those songs apply to absolutely everything! Let-it-go for the bad recipes, for-the-first-time-in-forever for the new recipes and my personal favorite, #somyaneverbotheredmeanyway for every occasion 
For my friend's birthday I decided to try to make themed cupcakes, which I've never done before. Pictures online show cupcakes with lots of fondant, but personally I think fondant is really artificial-tasting and dough-y so I decided to try something different!
I made icicle decorations and cupcake wrappers, too, to decorate my red velvet cupcakes with cream cheese frosting.

Icicle Decorations:
1/4 cup sugar
2-3 tbsp water
1 drop of blue food coloring

1. In a saucepan on medium heat, add sugar and water.
2. Mix with spoon until well combined (mixture should boil). 
3. Add a drop of food coloring.
4. Pour on silicone baking sheet. (in strands, like in the picture below)
5. When icicles cool they are ready to use as decorations. 

The bottom left of the try shows thicker "icebergs" while the thinner strands elsewhere will form "icicles". A combination of both looks great on the cupcakes!
 I made cupcake wrappers too which help the cupcakes look more personalized! I bought scrapbook paper from Michaels (or any local crafts store) and cut out cupcake templates, which can be found online.
For some reason the cupcake still didn't look Frozen enough for me, so I added an Olaf on the top :)